🌿 Sign Up for Your Free 3-Month Gardening Log!
Keep your garden thriving all season long with our 30 Weekly Garden Logs — perfect for tracking plant growth, watering schedules, weather notes, and harvest results.
When you sign up, you’ll also receive a free 3-Month Gardening Log Journal to stay organized and inspired as you grow.
Join below and start logging your garden today!

How to Grow Herbs on a Balcony (Beginner’s Step-By-Step)
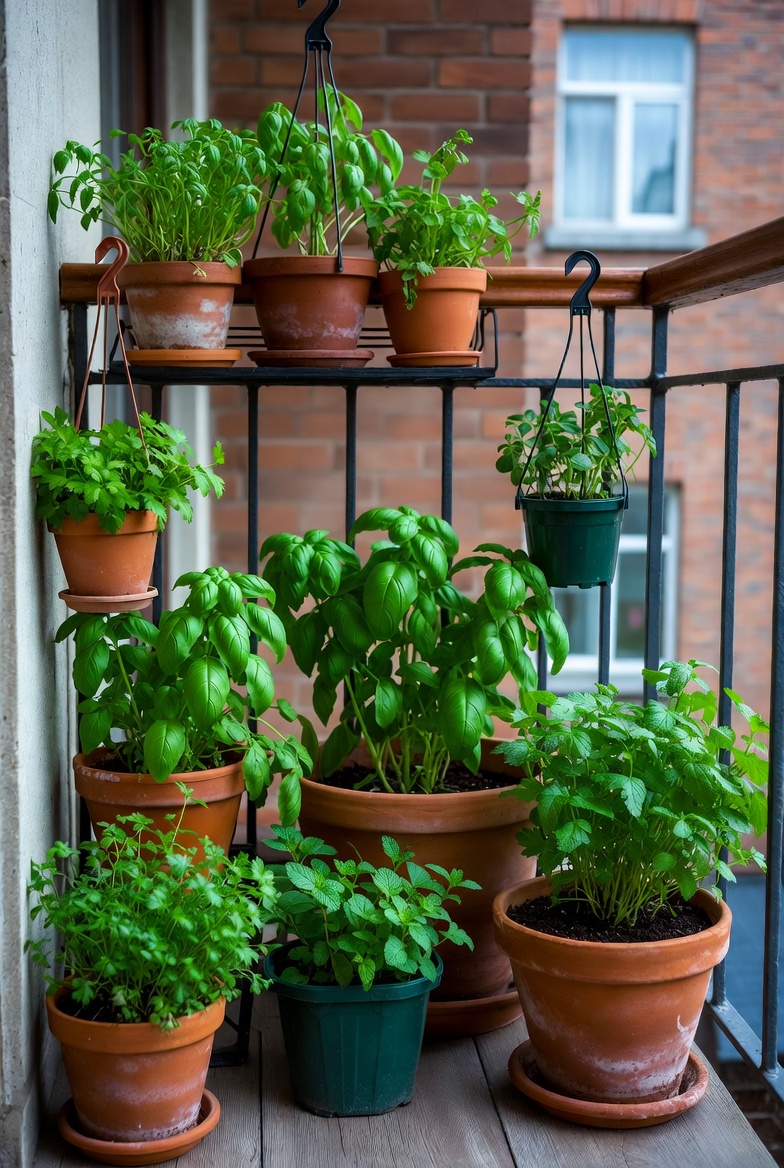
If you’ve ever wished you could snip fresh basil or mint right outside your door, balcony herb gardening is the perfect place to start. In this guide, we’ll walk through a simple, beginner-friendly process that works even if you’ve never grown a plant before.
For best results, use this article side-by-side with the balcony gardening journal (ASIN B0FZVM9K3L) so you can record what you plant, when you water, and how your herbs respond.
Step 1: Choose the Right Spot on Your Balcony
Start by deciding where your herbs will live. Stand on your balcony and notice where the sun hits in the morning, midday, and afternoon.
- Full sun (6+ hours): Ideal for basil, rosemary, thyme, oregano.
- Partial sun (3–5 hours): Good for mint, parsley, cilantro, chives.
- Mostly shade: Focus on leafy herbs and experiment with small pots first.
Step 2: Pick Beginner-Friendly Herbs
Start with 3–5 herbs so you can learn without feeling overwhelmed. Once you feel confident, you can always add more.
| Herb | Light Needs | Water Needs | Beginner Rating |
|---|---|---|---|
| Basil | Full sun | Keep evenly moist | ⭐⭐⭐⭐☆ |
| Mint | Partial sun | Moist but not soggy | ⭐⭐⭐⭐⭐ |
| Chives | Sun or light shade | Moderate | ⭐⭐⭐⭐⭐ |
| Parsley | Partial sun | Moderate | ⭐⭐⭐⭐☆ |
For a full breakdown of the easiest balcony herbs, see Best Herbs for Balcony Gardens.
Step 3: Use the Right Containers and Potting Mix
Your herbs will only be as healthy as the containers and soil you put them in.
- Choose pots with drainage holes at the bottom.
- Use a high-quality potting mix (not heavy garden soil).
- Make sure your balcony can safely hold the weight of multiple containers.
For a buyer’s guide with specific recommendations, check out Best Containers for Balcony Herbs.
Step 4: Plant Your Herbs
- Fill each pot about three-quarters full with potting mix.
- Remove the herb from its nursery container and gently loosen the roots.
- Place the plant in the new pot so the top of the root ball sits just below the rim.
- Backfill with potting mix and press lightly to remove air pockets.
- Water slowly until you see water draining from the bottom of the pot.
Step 5: Create a Simple Watering and Feeding Routine
A steady routine is better than trying to be perfect. Start with this schedule and adjust based on how your soil dries out:
- Check the top inch of soil with your finger.
- If it feels dry, water slowly until excess drains away.
- If it still feels moist, wait another day.
Every 3–4 weeks during the growing season, feed your herbs with a diluted liquid fertilizer or a gentle organic feed.
Step 6: Harvest Often (Without Hurting Your Plants)
The more you harvest correctly, the more your herbs will produce. Follow these simple rules:
- Never remove more than one-third of the plant at a time.
- For basil, pinch stems just above a pair of leaves to encourage branching.
- For chives, snip leaves near the base rather than halfway up.
When you’re ready to level up, check out:

Track Your Balcony Garden Progress
Turn your balcony herb garden ideas into a living reality with the Balcony Gardening Journal (ASIN B0FZVM9K3L) — your hands-on companion for planning, tracking, and celebrating every season’s growth.
Record sunlight patterns, watering schedules, weekly notes, and harvests all in one easy place. A perfect match for every cluster guide in your balcony gardening journey.
View the Balcony Gardening Journal on Amazon


